I-Greenhouse progress
Revision as of 18:08, 1 March 2017 by Marion.Pellicer (talk | contribs) (→LoRa communication tests)
Schedule of the project
March-November 2016
- 1st HW/SW software and hardware design of the LoRa endpoint for temperature, humidity, rain and wind (Figure 2)
- 1st HW/SW software and hardware design of the Sigfox endpoint for temperature and humidity (Figure 3)
- 1st HW/SW design of the LoRa pico-gateway based on ESP8266 + RN2483 (Figure 4)
- 1st mockup of the backend based on MQTT, Node-RED and InfluxDB Link (Figure 5)
- 1st mockup of the data-visualization application based on Grafana Link (Figure 5)
December 2016
- Order of Adafruit Feather 32u4 RFM95 LoRa Radio on Adafruit with the USD 150 gift.
January 2017 (start of the student project)
- Ordering of the 14 square meters greenhouse and associated material
- Installation of the greenhouse in Polytech Grenoble backyard
- Sigfox endpoints (with first set of sensors)
February 2017
- Lora backend and LoRa endpoints (with first set of sensors)
- Lora pico-gateway hardware
- Grafana dashboard
March 2017
- March 9-10: Participation to the Eclipse IoT Days 2017 Grenoble (lik)
- Lora pico-gateway software
- LoRa endpoints (with second set of sensors)
- Sigfox endpoints (with second set of sensors)
- Alarming backend (Email, Free SMS, Android push).
April 2017
- Cordova mobile application
- Integration in OpenHAB/Eclipse SmartHome
- User documentation
- Student defense
Team
File:Undefined.jpg Charles Marchand |
Progress report (Feb. 27 2017)
December 2016
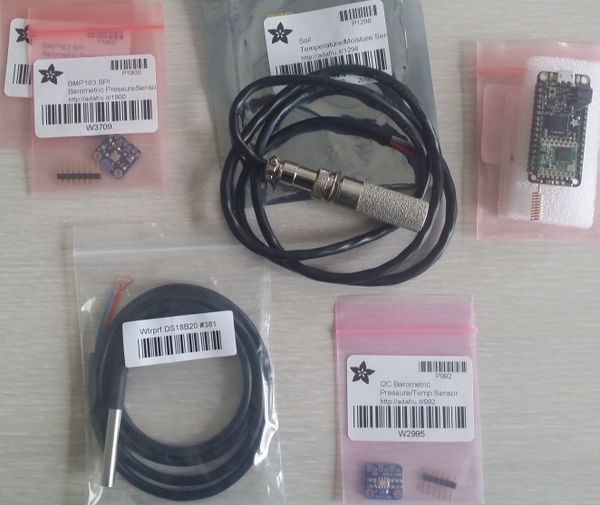
Ordering of components on Adafruit with the USD 150 gift.
- 3 Adafruit Feather 32u4 RFM95 LoRa Radio
- Soil Temperature/Moisture
- DS18B20 - Temperature sensor
- BMP183 SPI barometric pressure sensor
- I2C barometric pressure and temperature sensor
January 2017
- Reception of the components
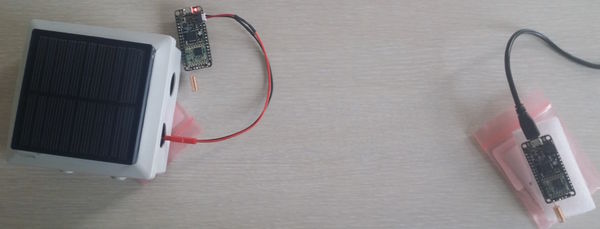
- Soldering of the 868MHz antenna and the pins on the Adafruit Feather
- Follow the Hello World example at https://learn.adafruit.com/adafruit-feather-32u4-radio-with-lora-radio-module/using-the-rfm-9x-radio
- The TX device is connected to a solar panel with a battery pack (3x 1.2V)
- Use the 868Mhz frequency to match the antenna capability (Available ISM in France).
#define RF95_FREQ 868.0
- Add the blinking LED on pin 13 on the TX device
digitalWrite(LED,packetnum%2);
Febuary 2017
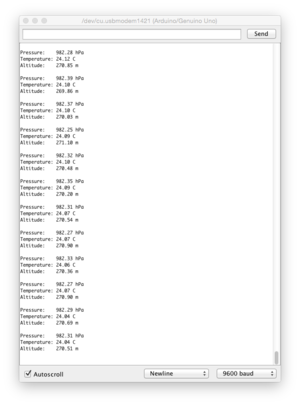
Air Temperature and Pressure
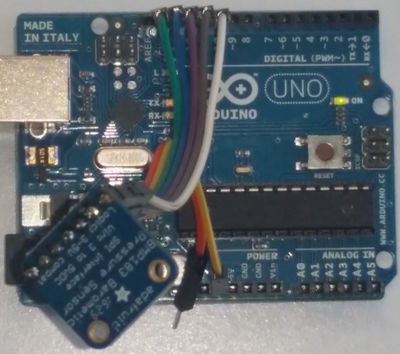
Use of a BMP183 (SPI Barometric and temperature sensor) connected to an Arduino Uno
- BMP183 3.3v <-> Arduino 3.3v
- BMP183 GND <-> Arduino GND
- BMP183 SCK <-> Arduino 13
- BMP183 SDO <-> Arduino 12
- BMP183 SDI <-> Arduino 11
- BMP183 CS <-> Arduino 10
Configure the Arduino IDE
"Arduino" -> "Preferences..." -> "Settings"
Set the "Additional Boards Manager URLs" to the following
https://adafruit.github.io/arduino-board-index/package_adafruit_index.json
Install the additional librairies
"Sketch" -> "Include library" -> "Manage Librairies"
- Adafruit Unified Sensor
- Adafruit BMP183 Unified Library
Alternative installation from ZIP
- https://github.com/adafruit/Adafruit_Sensor
- https://github.com/adafruit/Adafruit_BMP183_Unified_Library
|
|
|
Soil and Temperature Moisture
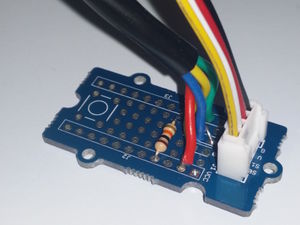
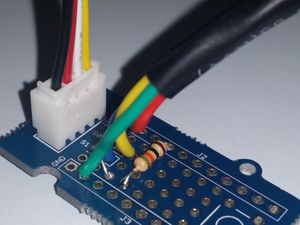
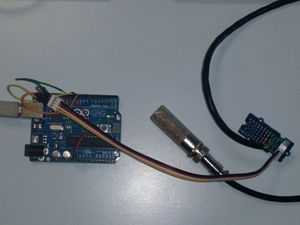
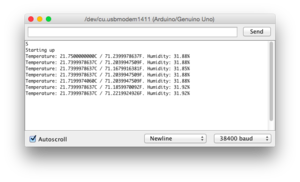
Use of a SHT10 connected to an Arduino Uno
- SHT10 Red 3.3v <-> Arduino 3.3v
- SHT10 Yellow (SCK) - S0 <-> Arduino GND
- SHT10 Blue (Data) - S1 <-> Arduino 13
- SHT10 Green (GND) <-> Arduino GND
|
|
|
|
Note the pull-up resistor on the data line (Blue and White).
LoRa communication tests
- Communication between Adafruit Feather 32u4 RFM95 LoRa Radio and Pycom LoPy cards with a sending of simulated values
- Code for Lopy : https://github.com/igreenhouse/picoloragateway
- Code for Adafruit : https://github.com/igreenhouse/endpoints
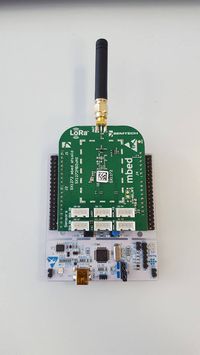
- Communication between two Mbed SX1272 with a "PingPong" program
- Getting values from sensors and monitored by Adafruit Feather card
Data processing and visualization
- First step with Grafana and installation of a test InfluxDB, Node-Red and MQTT (By following this tutorial Developing IoT Mashups with Docker, MQTT, Node-RED, InfluxDB, Grafana)
Mock-up
- The project will be presented at the Eclipse IoT 2017 in Grenoble with a mock-up of the greenhouse.
Farm visit
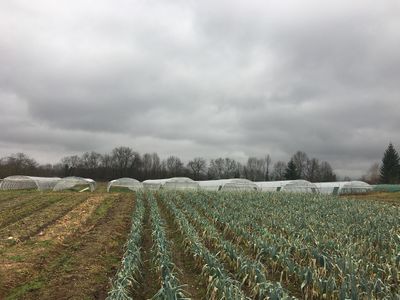
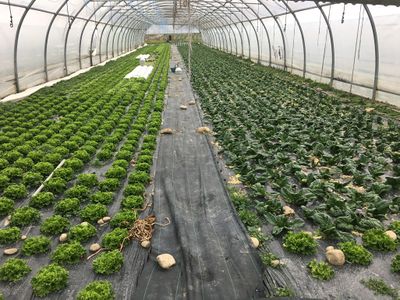
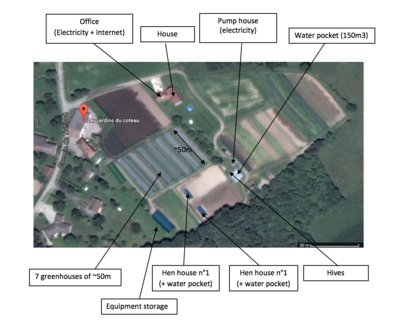
- Feb. 8, we visited a farm localized near Grenoble where we can implant the project. There are some pictures of the day with a satellite map of the exploitation :
Greenhouse model
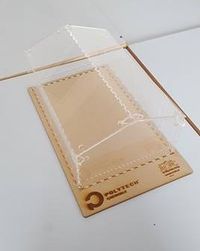
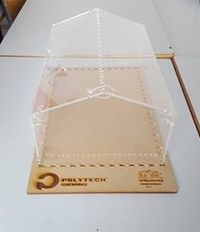
- Preparation of the mockup for Eclipse IoT Days Grenoble 2017
- Going to the FabLab in order to carve the model. The base is made of MDF (Medium-density fiberboard) and the structure is made of PMMA (aka Plexiglas).


