Makerbot' Thing-o-Matic: Difference between revisions
Jump to navigation
Jump to search
| Line 28: | Line 28: | ||
===Etape 2 : Jeudi 24/11 après-midi=== |
===Etape 2 : Jeudi 24/11 après-midi=== |
||
Rendez vous salle AIR |
Rendez vous salle AIR |
||
===Etape 3 : Jeudi 08/12 après-midi=== |
|||
Rendez vous salle AIR |
|||
Revision as of 22:14, 23 November 2011
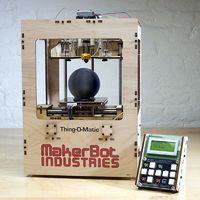
L'imprimante Thing-o-Matic de Makerbot est une petite imprimante 3D bas cout à monter soit même. La taille maximun des objets est de 10 cms par 10 cms par 10 cms. Les objets sont imprimés à partir de filaments d'ABS de 1,75 mm d'épaisseur disponible en plusieurs couleurs.
Projets d'objets imprimés @ AIR
TODO
- porte clé NFC
- projet AMO
Logiciels
TODO
Install Party
Jeudi après-midi 24/11 et 8/12 !
il y aura 2 choses à monter : la Thing-o-Matic et le Interface Kit
- les volontaires :
- les mentors : LOGRE ?
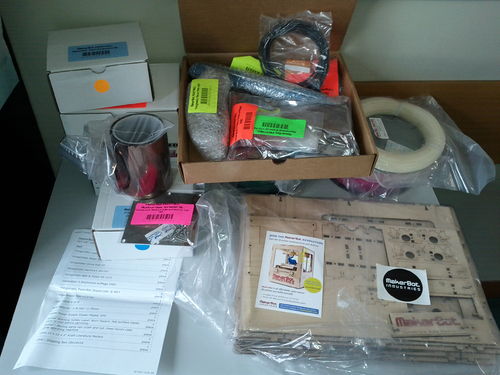
Etape 1 : déballage
Etape 2 : Jeudi 24/11 après-midi
Rendez vous salle AIR
Etape 3 : Jeudi 08/12 après-midi
Rendez vous salle AIR
Etapes de Montages
Participants:
1. Prep
Participants:
2. Z-Stage
Participants:
3. X-Stage
Participants:
4. Y-Stage
Participants:
5. Stepstruder (MK7) / Stepstruder (MK6+ for kits prior to 9/2011)
Participants:
6. Safety Cutoff
Participants:
7. Body
Participants:
8. Electronics Installation
Participants:
9. Update the Firmware
Participants:
10. MakerBot Gen 4 LCD Interface
Participants:
Etapes de Test
1. Proper Belt Tensioning
Participants
2. Testing Your Bot
Participants:
3. Your First Print
Participants:
Outillage
Inventaire de l'outillage requis
Etape 3 : Jeudi 08/12 après-midi
Rendez vous salle AIR
Liens
- guide de montage Thing O Matic http://www.makerbot.com/docs/thingomatic/
- guide de montage Interface Kit http://www.makerbot.com/docs/makerbot-gen4-interface-kit/


