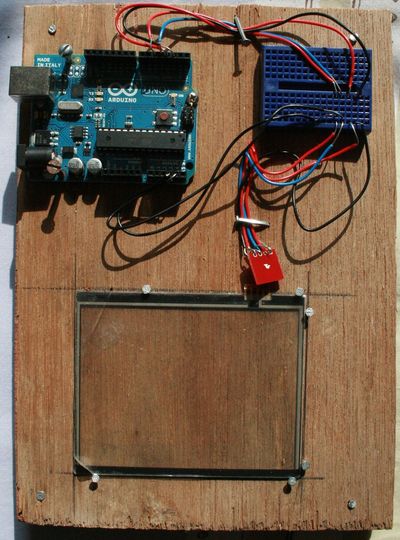
DS Touch screen
Jump to navigation
Jump to search
Les écrans des consoles de jeu portables permettent de réaliser à moindre coup des dispositifs d'interaction homme-machine pour des applications de biométrie, musique, ... ils peuvent être combiné à des écrans ou des matrices de LED, ...
Matériel
- Nintendo DS Touch Screen
- Nintendo DS Touch Screen connector breadout (4 items) INDISPENSABLE
Aide : voir
- http://kalshagar.wikispaces.com/Arduino+and+a+Nintendo+DS+touch+screen
- http://www.sparkfun.com/commerce/tutorial_info.php?tutorials_id=139
- http://www.sparkfun.com/datasheets/LCD/HOW%20DOES%20IT%20WORK.pdf
voir aussi
- http://www.youtube.com/watch?v=1cfQT7WioxI
- http://www.arduino.cc/cgi-bin/yabb2/YaBB.pl?num=1232390262
- http://www.arduino.cc/cgi-bin/yabb2/YaBB.pl?num=1243499684
Ces écrans sont résistifs et forment un pont résistif pour chaque axe (X,Y). La lecture de X,Y se fait alternativement (résistance en X puis résistance en Y).
Réalisez votre montage avec les indications suivantes (présente dans le code)
// Touch panel wiring // Connect to Arduino these wires (used to drive power)
- define Lo 2 // LEFT to digital output 2 (X1)
- define Bo 3 // BOTTOM to digital output 3 (Y2)
- define Ro 4 // RIGHT to digital output 4 (X2)
- define To 5 // TOP to Digital output 5 (Y1)
// Connect to Arduino these wires (used to read the touch position)
- define Ti 3 // TOP also to analog input 3 (Y1)
- define Ri 4 // RIGHT also to analog input 4 (X2)
Testez votre montage avec le scketch Media:DSTouch.pde.txt
